Are you ready for 2 surprising stats?
There are 300,000 items in the average American home and 1 out of every 10 Americans rent offsite storage. Wow.
If your home is like many in this country, attics & basements are typical deep storage areas. They can easily become dreaded spaces where items get tossed, then forgotten about. To help get the most efficient use out of these usually overlooked zones, we will need to clean them out and get them organized. If you do not have an attic or basement (here on the North Carolina coast basements aren’t an option), but use another area in or around the house, like a shed or eaves space, spring is a great time to begin this project.
Step 1: De-clutter your space by removing items that do not belong, are broken, or are no longer of use to you.
Step 2: Clean the area as best as you can. Once unneeded items have been removed, you will better be able to work and clean. Ideally, it would be best to remove all items from this space and clean, but this may not be possible. Depending on the space, whether finished or unfinished, will determine how detailed cleaning can be. At the very least, remove cobwebs & dust, wipe down surfaces, and finally, vacuum.
Step 3: Now that the area is clean, categorize your remaining items and assess where they should be by creating zones. Group all like items together: holiday, seasonal, sporting goods, tools, furniture, heirlooms, etc. Give yourself easy access to more frequently used items. Items such as Christmas decorations can be stored in the least accessible space since they are used annually. Tools that may be used more often, but still not frequently, could be stored closer to the door at arm’s reach.
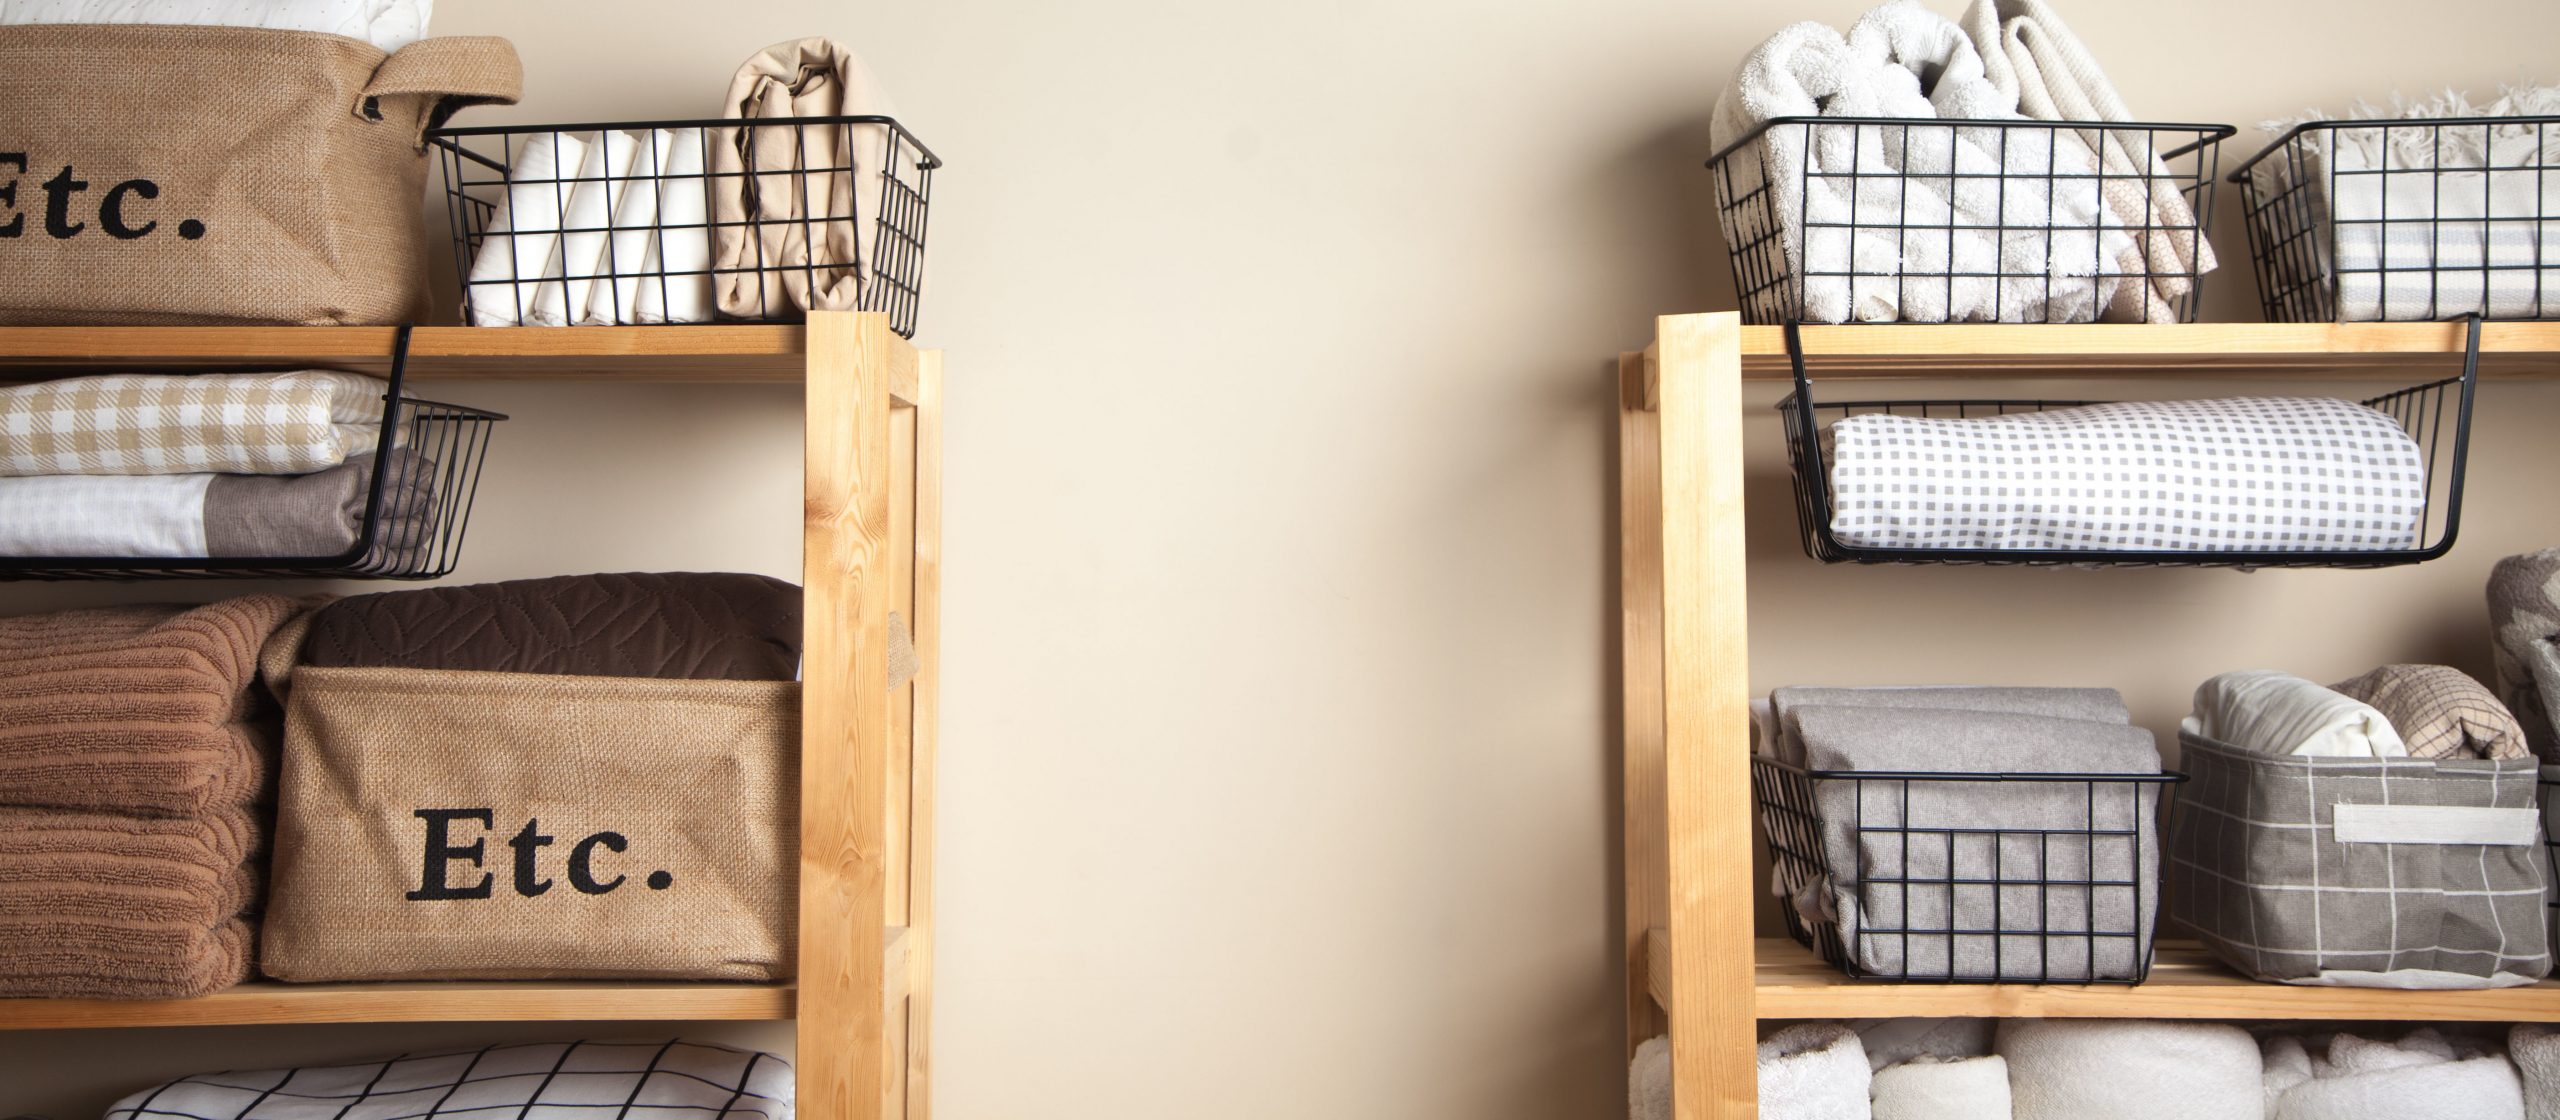
Step 4: Consider storage solutions. Smaller items work well in clear bins or containers. A category such as Christmas that tends to have larger quantities of items does well in several larger containers. For example, Christmas lights, tree ornaments, and outside decorations should each have their own container. Fragile ornaments will need to be protected from heavy Christmas lights that could crush them if a box was shared. Many spaces benefit from shelving systems, truss shelves, racks, hooks, or even rafter hangars. Added flooring can open up so much storage space, so be creative with what you can do!
Step 5: Label & inventory stored items. Printed labels will create a cohesive look, even if the containers are not all the same. If your space is large, an inventory list will help provide a quick visual for where items are located. It will also help determine where those items need to be returned, especially if you may not be the only one taking out and returning things.
Step 6: Assess or review items annually to maintain your hard work. Set a specific time of year to do this. Doing so will help keep the quantity under control, especially if items are added to these spaces. Purge what you really don’t need or have not used in some time. Donating or selling will free up space, put some money in your pocket, and even give you some good donation karma!
Here are some final storage tips to save you time and help prevent damage:
- Items that don’t store well in non-climate controlled settings: photos, records/papers, fabrics, metals, cardboard items such as boxes, items prone to melting, any food products
- Create easy access for items needed more often
- Reassess lighting & flooring options if needed
- Check for potential safety issues
- Always measure before purchasing storage items & don’t buy before you know what you need
Now it’s time to get to work and start your new organizing project. Break it down into small segments if it gets too overwhelming and remember that you can do it! If this all sounds way too overwhelming, you can call on us to handle your organizing project.


leave a comment